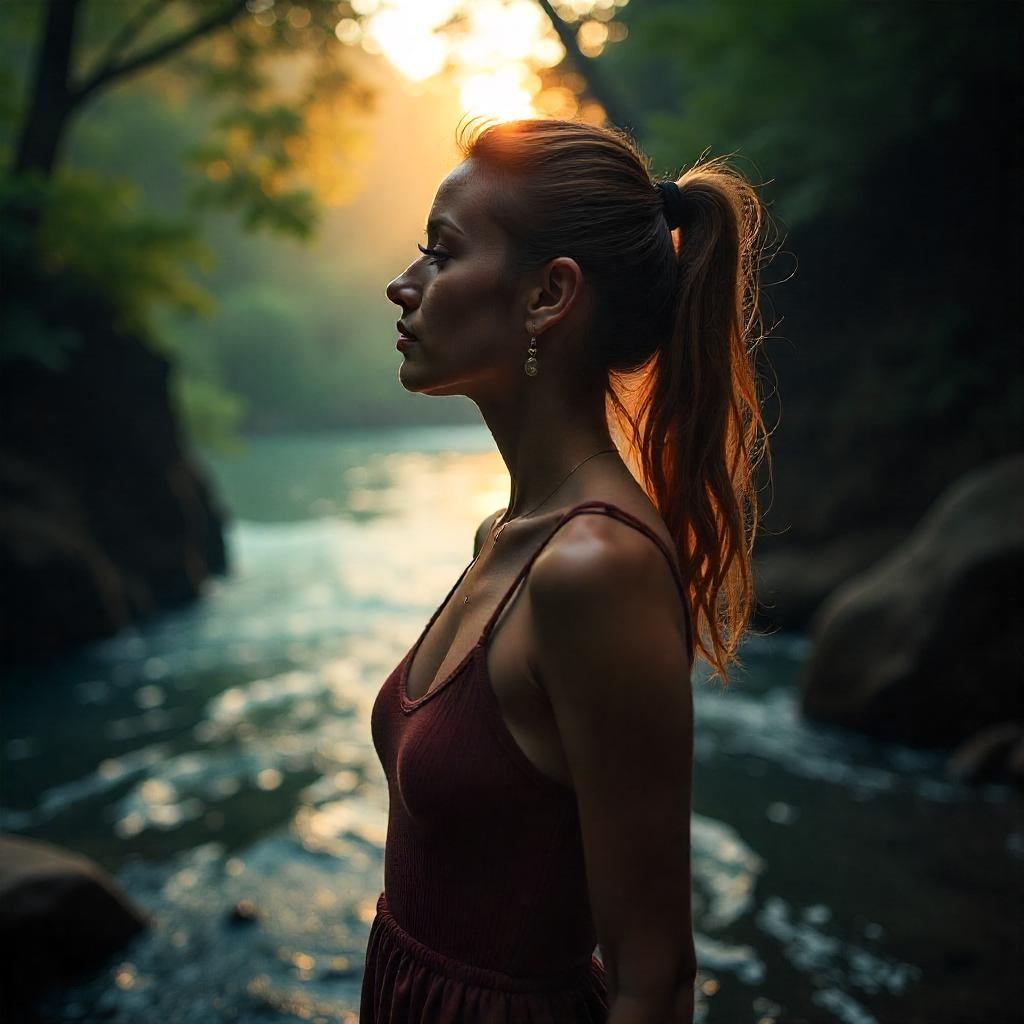
A dark and moody Lightroom preset that sells well with a touch of style, precision and research. Below is a complete guide based on trends from best-selling presets on marketplaces such as Etsy, FilterGrade and Creative Market.
What Makes a Top-Selling Dark & Moody Preset?
- Desaturated tints with dark shadows.
- It comes in deep black, silky finish, and warm or cold tones.
- Lighting condition doesn’t affect outcome.
- Mysterious, cinematic and nostalgic ‘emotional storytelling in the look.
- Good for portraits, weddings, forests, urban and indoor shots.
Step-by-Step: How to Create a Dark & Moody Preset in Lightroom
1. Pick a Base Image.
Pick a good quality RAW image that has a good deal of contrast between light and dark (ideal: golden hour, cloudy day or forest lighting).
2. Adjust Tone Curve.
- Pull down the shadows and black levels.
- To give your image a little matte look, slightly lift the blacks.
- Draw an S-curve for comparison.
- Anchor the midtones.
- Slightly lift highlights.
- Deepen shadows.
3. Desaturate Colors.
- Saturation in HSL Panel should be selected.
- Reduce green, yellow, and aqua colors.
- Retain some reds and oranges to paint skin tones.
4. Luminance
- Use darker blues/greens to help with mood.
- Livelier skin tones to keep faces alive.
5. Split Toning / Color Grading.
- Shadows can be teal, green, or warm brown.
- Add orange or soft golden tones to highlights.
- Move the slider to the left.
6. Lower Exposure & Contrast.
- Slightly darken the exposure.
- Lower the overall contrast for a desaturated , moody look.
- Make the texture clearer if necessary.
7. Add Grain & Vignetting.
- Darken the edges in post-crop vignette to bring the focus inwards.
- Adds a feel of the films and nostalgia
- Amount: 15–25.
- Size: 20–30.
- Roughness: 50–60.
8. Use Masking (Optional).
- Use a radial mask around the subject to brighten slightly.
- Utilize a linear gradient to darken the skies or background.
9. Save Your Preset.
- To create a preset, click on develop, presets, + create preset.
- Clearly define it, for example, cinematic gloom and dark forest moody, etc.
Tips to Make It Sell.
- Bundle 4–10 presets in one pack.
- Give variety: indoor, outdoor, blue mood, warm mood, high-contrast, etc.
- Design a beautiful mockup preview.
- Use before/after comparisons and consistent branding.
- Target Specific Niches: “Dark Moody Wedding Presets” “Cinematic Portrait Presets” “Moody Forest Lightroom Presets”.
- Use emotional titles & storytelling
A dark and moody Lightroom pack, ‘Into the Fog’ is inspired by rainy mornings and the stillness of the woods.

